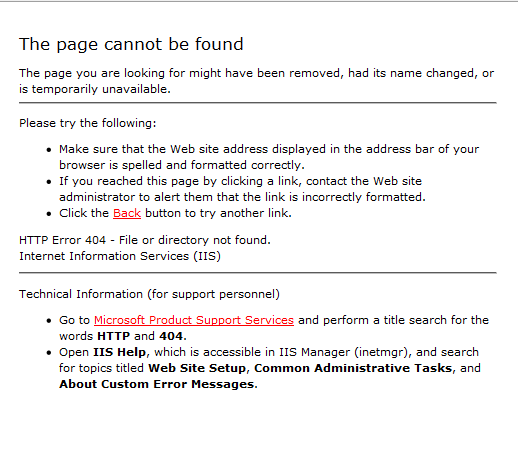
Oops….Error 404 – Page Not Found
I know we all dislike this page, so do our visitors and potential customers!
Most of the time, visitors would just click the “Back” button after seeing this irritating error page without knowing if there’s any alternatives. It could be a big turn-off for your website visitors who could be your potential customers.
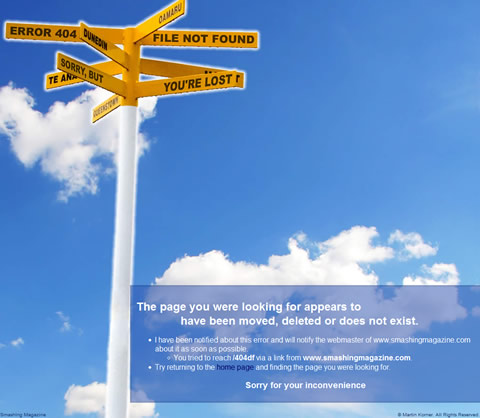
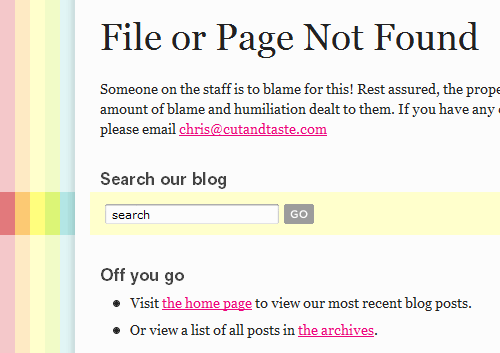
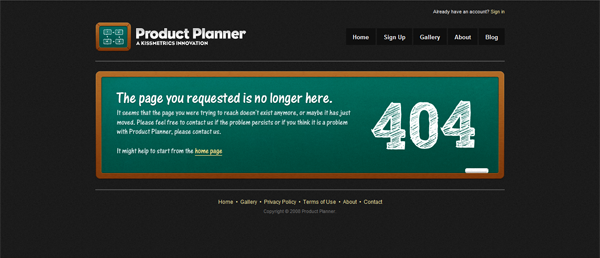
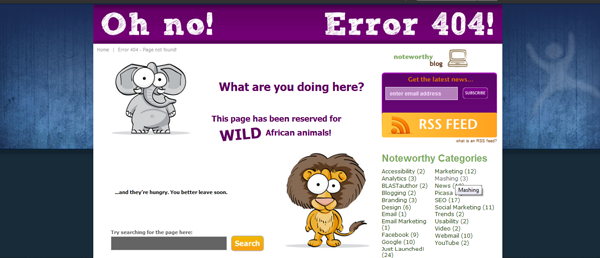
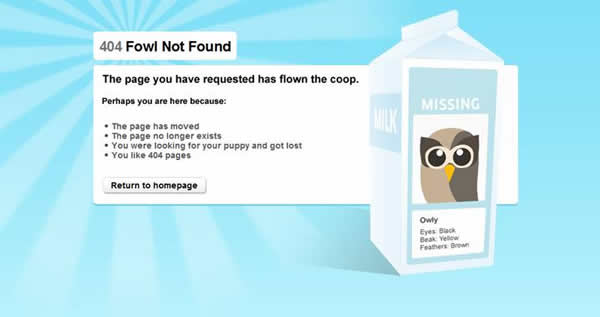
Creating your own Custom 404 Error Page can probably solve your problem. Today, 404 error page can be entertaining. Below you can find some entertaining custom 404 error pages contributed by some of the creative web designers:





How to make a Custom 404 Error Page?
Step 1: Creating/Modifying the .htaccess File
You can always check whether you have the .htaccess file through your FTP client software (such as FlashFXP). It is usually located at your /public_html folder. Otherwise, you will have to create a new one.
You can simply create one with a text editor (such as Notepad on Windows) and type the following:
ErrorDocument 404 /404page.html
The link in Blue is the URL where your custom 404 error page will be shown. Please make sure that you put the 404page.html file in the main web directory for the above directive to work.
The next step is to save the file. Click “Save As” and save the file name as “.htaccess” (otherwise, Notepad will append a “.txt” extension behind your back when it creates the file).
Step 2: Creating Your Error Document File
There are several tips you should know before creating your own custom 404 error page:
1. Error page should resemble your web page – so that users won’t feel completely lost
2. Apologize for inconvenience – even though it’s not your fault, at least users will feel better
3. Search box within the 404 error page – users can find what they are really looking for
4. Link the users back – the ultimate solution
5. A sense of humour – turns annoyance to smile
After creating your custom error page, please make sure you save it as “404page.html” (the same title as the one in your .htaccess file).
Note: You should make your 404 page larger than 512 bytes; otherwise Internet Explorer (IE) will load what it calls its built-in “friendly HTTP error message” instead of your 404 page. Other browsers work well.
Step 3: Testing the Error Document
When you’re satisfied with your page, you can now upload both .htaccess and 404page.html files into your root directory which contains all your other web pages (/public_html).
Test it by typing a URL that you know does not exist. You will see your custom error page.
Next, you should test to see that the links here lead to the pages you intended it to lead.
That’s all, Happy Trying!


Hand-picked related articles
Ways to Improve Your Site’s Ranking (SEO)
Use these actionable tips to take your SEO to the next level and send your website ranking up to the top of the search engine rankings. Gain more visibility, drive organic traffic, and set your…
Benefits Of SEO
Whether it's a new business or growing one, just think of your business popping up on the first page when…
Who Should Use Shared Hosting
If you fall into any of the categories below, shared server hosting might be suitable for you: 1. Small Businesses…
ServerFreak is ISO 27001:2022 certified
Here are 5 great reasons to cheer Firstly, let us tell you about the cert. ISO 27001:2022 is the world’s…